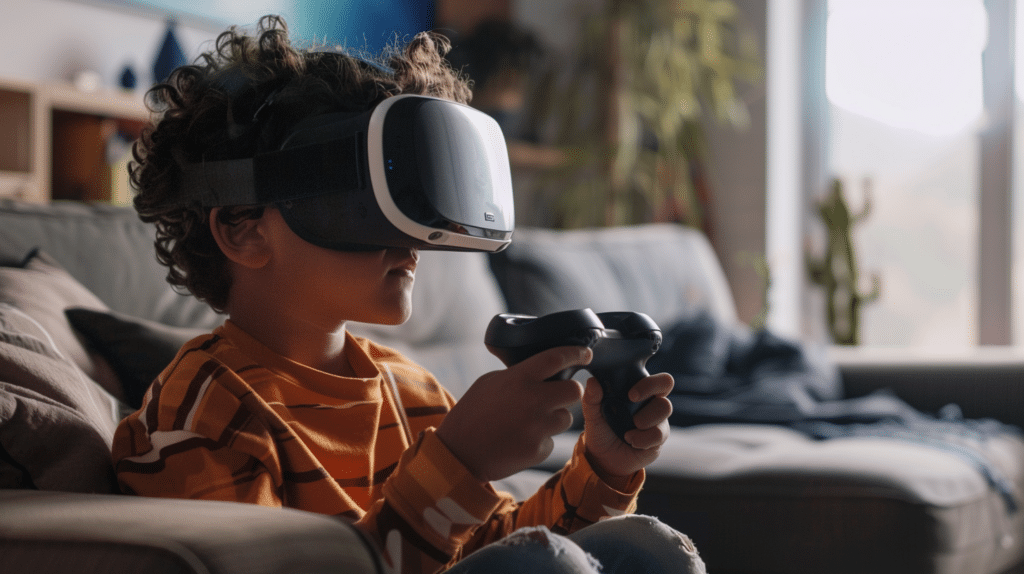
The Oculus Quest 2 is a remarkable standalone VR headset, offering immersive experiences without the need for a powerful PC. However, if you’re looking to expand your gaming library beyond what’s available on the Oculus Store, you’ll be pleased to know that it’s possible to play Steam games on your Quest 2. This opens up a whole new world of possibilities, allowing you to access a vast library of VR titles. In this guide, we’ll walk you through the steps to play Steam games on your Oculus Quest 2.
Table of Contents
ToggleStep 1: Enable Developer Mode on Your Oculus Quest 2
Before you can begin playing Steam games on your Quest 2, you’ll need to enable Developer Mode. To do this, you’ll need to create a developer account with Oculus and enable Developer Mode in the Oculus app on your smartphone. This process is relatively straightforward and is necessary to sideload applications onto your Quest 2.
Step 2: Install SideQuest on Your PC
SideQuest is a third-party application that allows you to sideload content onto your Oculus Quest 2. It’s an essential tool for accessing a wide range of VR experiences beyond what’s available on the Oculus Store. To install SideQuest, simply download the application from the official website and follow the on-screen instructions to set it up on your PC.
Step 3: Enable Unknown Sources in Your Oculus Quest 2 Settings
To install applications from sources other than the Oculus Store, you’ll need to enable Unknown Sources in your Quest 2 settings. This allows you to sideload applications onto your headset using SideQuest.
Step 4: Install Virtual Desktop on Your Oculus Quest 2
Virtual Desktop is a popular application that allows you to stream PC VR games to your Oculus Quest 2 wirelessly. To use Virtual Desktop, you’ll need to purchase and install the application from the Oculus Store on your Quest 2. You’ll also need to install the Virtual Desktop Streamer app on your PC.
Step 5: Connect Your Oculus Quest 2 to Your PC
Once Virtual Desktop is installed on both your Quest 2 and your PC, you’ll need to connect your headset to your PC using a USB cable. This allows your Quest 2 to communicate with your PC and stream VR content from your computer to your headset.
Step 6: Launch Virtual Desktop on Your Oculus Quest 2
With your Quest 2 connected to your PC, launch Virtual Desktop on your headset. You should see your computer’s desktop displayed in VR.
Step 7: Launch Steam VR
Once Virtual Desktop is running on your Quest 2, navigate to your PC’s desktop and launch Steam VR. This will open up the Steam VR interface in your headset, allowing you to access your Steam library and play VR games.
Step 8: Enjoy Playing Steam Games on Your Oculus Quest 2
With Steam VR running on your Oculus Quest 2 via Virtual Desktop, you’re ready to dive into the world of PC VR gaming. Browse your Steam library, select a game, and enjoy immersive VR experiences on your Quest 2.
Conclusion
Playing Steam games on your Oculus Quest 2 opens up a wealth of new gaming opportunities, allowing you to access a vast library of VR titles. By following the steps outlined in this guide, you can enjoy the best of both worlds – the freedom of wireless VR gaming on the Quest 2 and the extensive library of PC VR games available on Steam. So grab your headset, fire up Virtual Desktop, and prepare to embark on an unforgettable VR journey.